
Digitizing a drawing transforms traditional sketches into versatile digital assets. This process facilitates numerous benefits for businesses, including ease of sharing, editing, and reproduction of digital artwork. Companies can use digitized illustrations in various formats, enhancing their marketing materials and promotional products. Understanding how to digitize a drawing helps businesses stay competitive in the digital age.
At Scalable Press, our extensive print vendor network supports businesses in digitizing drawings. Our platform connects users to thousands of print-on-demand products, streamlining order management through a single dashboard and modern software interfaces. This network enables businesses to turn digital illustrations into tangible products efficiently. With competitive pricing and no minimum orders, digitizing drawings and converting them into market-ready products becomes a seamless and cost-effective process.
Coming from our insights and industry expertise, we’ve crafted this guide that delves into how to digitize a drawing. We will explore the essential tools, step-by-step digitizing process, and best practices of doing so. By the end of this blog, you will know the easy way to digitize your drawings, from scanning to applying the final touches, ensuring your digital artwork meets industry standards.
Let’s jump in!
Essential Tools and Software for Digitizing Drawings
Digitizing drawings transforms traditional art into a versatile and modern medium. Using the right tools and software, digital artists can create high-quality digital art efficiently. Let’s explore these tools that will streamline your workflow and enhance the quality of your digital projects.
Hardware Requirements
Digitizing a drawing requires specific hardware to ensure accuracy and quality. Here’s a list of essential hardware components:
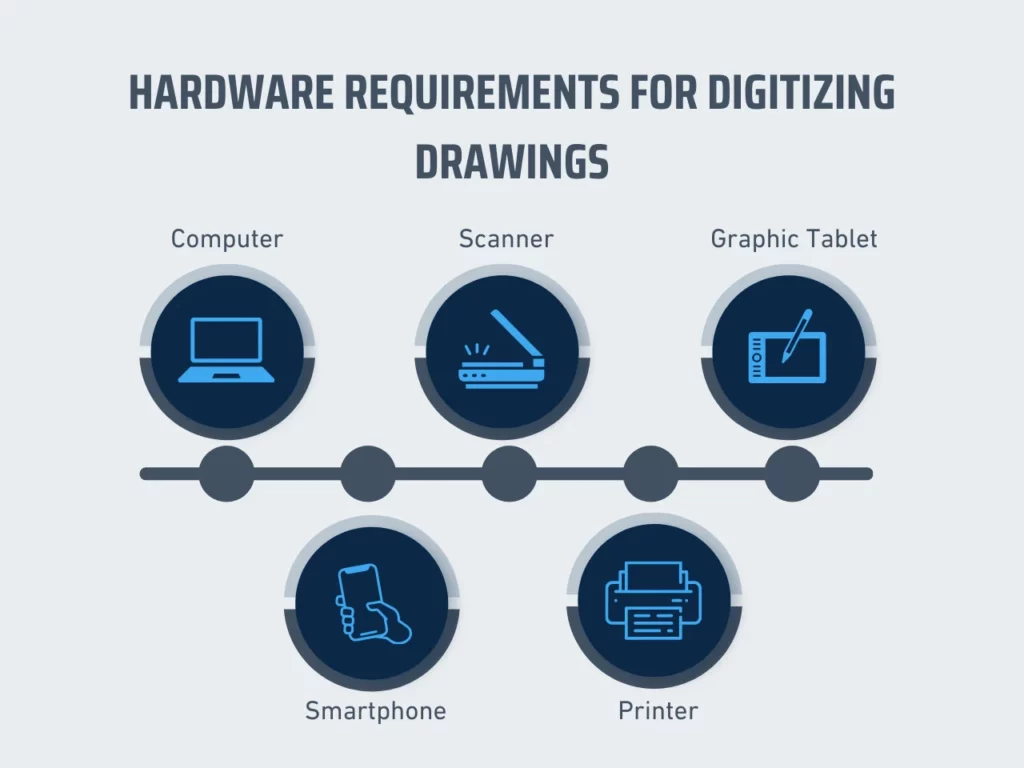
- Computer: A powerful computer with sufficient RAM and a fast processor. This will handle the demands of graphic software like Adobe Photoshop and Illustrator.
- Scanner: A high-resolution scanner is crucial for capturing fine details. Opt for a scanner that provides at least 300 DPI to ensure the drawing is clear and detailed.
- Graphic Tablet: A graphic tablet, such as an iPad or Wacom tablet, allows precise control when digitally creating and editing artwork. These tablets mimic the feel of traditional drawing while offering the flexibility of digital tools.
- Smartphone: Smartphones can serve as quick and convenient scanning tools. Their high-resolution cameras capture clear images of your drawings, which are suitable for basic digitization.
- Printer: A quality printer helps print your digital art for reviews or final presentations. It’s an optional tool but useful for those who want hard copies of their work.
Software Requirements
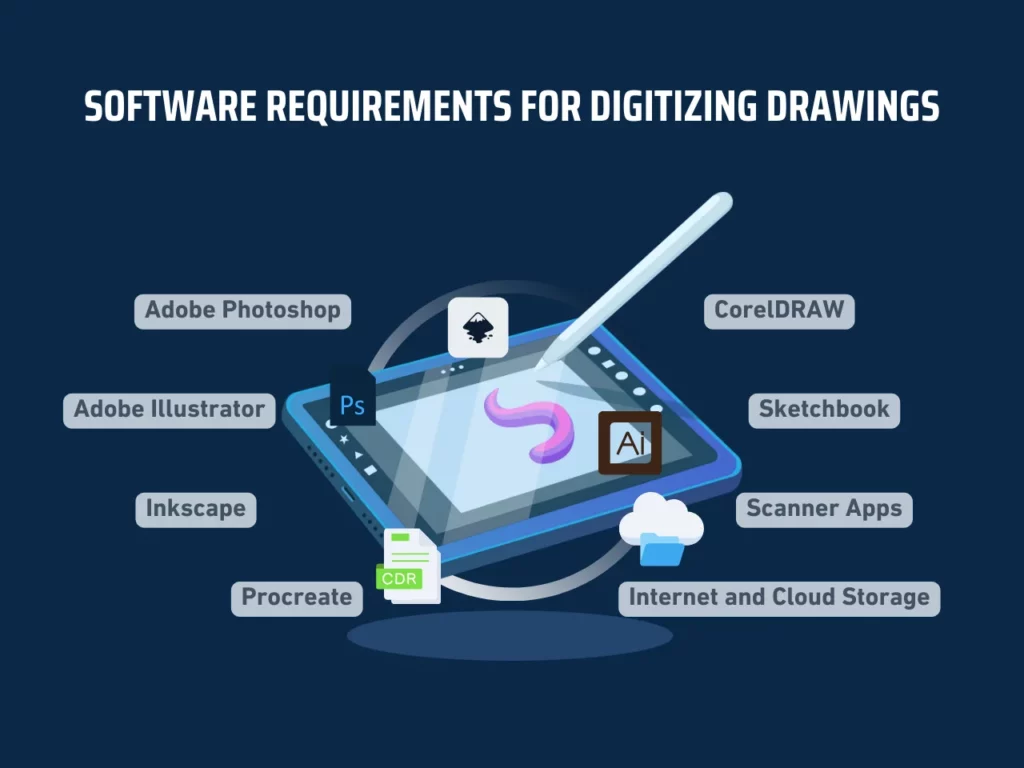
Software plays a pivotal role in digitizing drawings, offering a range of tools and features to enhance your digital art. Below is an overview of essential software for this process.
- Adobe Photoshop: Adobe Photoshop is a fundamental tool for editing scanned images. Utilize the brush tool to refine details and the adjustment layers to correct brightness and hues. The software supports PNG formats and provides a flexible process for creating new layers and adjusting the color range.
- Adobe Illustrator: Adobe Illustrator excels at converting drawings into vector images. This software uses geometric shapes and many vector tools, making it ideal for creating scalable and editable artwork. It’s essential for any digital artist aiming to produce high-quality vector graphics.
- Inkscape: Inkscape is a free alternative to Adobe Illustrator that offers robust vector editing capabilities. It’s suitable for artists looking for cost-effective solutions without compromising on quality.
- Procreate: Procreate, available on the iPad, offers an intuitive interface for digital drawing. This app allows artists to sketch, paint, and edit their artwork using a variety of brushes and layers. It’s perfect for artists who prefer working on tablets.
- CorelDRAW: This software provides powerful vector editing tools similar to Illustrator. It is popular among designers for its versatility and user-friendly interface.
- Sketchbook: Available on multiple platforms, Sketchbook offers a wide range of brushes and tools for digital drawing. It’s an excellent choice for creating detailed sketches and calligraphy.
- Scanner Apps: Smartphone scanner apps, like Adobe Scan or CamScanner, allow for quick and efficient scanning of drawings. These apps convert photos into digital files ready for further editing.
- Internet and Cloud Storage: Reliable internet access and cloud storage solutions, like Google Drive or Dropbox, ensure your digital files are accessible and securely backed up.
How to Digitize a Drawing
Learning how to digitize a drawing enables businesses to preserve and enhance their artwork for various applications. This process ensures high-quality reproduction, flexibility, and seamless distribution. Following the right steps, businesses can transform physical drawings into digital assets for promotional products and other projects.
Step 1: Prepare Your Drawing Materials
To begin digitizing a drawing, prepare all your drawing materials. Ensure you have the right tools and a clean workspace to enhance the quality of your final digital product. Gathering everything you need before you start will streamline the digitization process and enhance your efficiency. This initial step is crucial in setting a strong foundation for digitizing a drawing.
Here are the essential materials you will need:
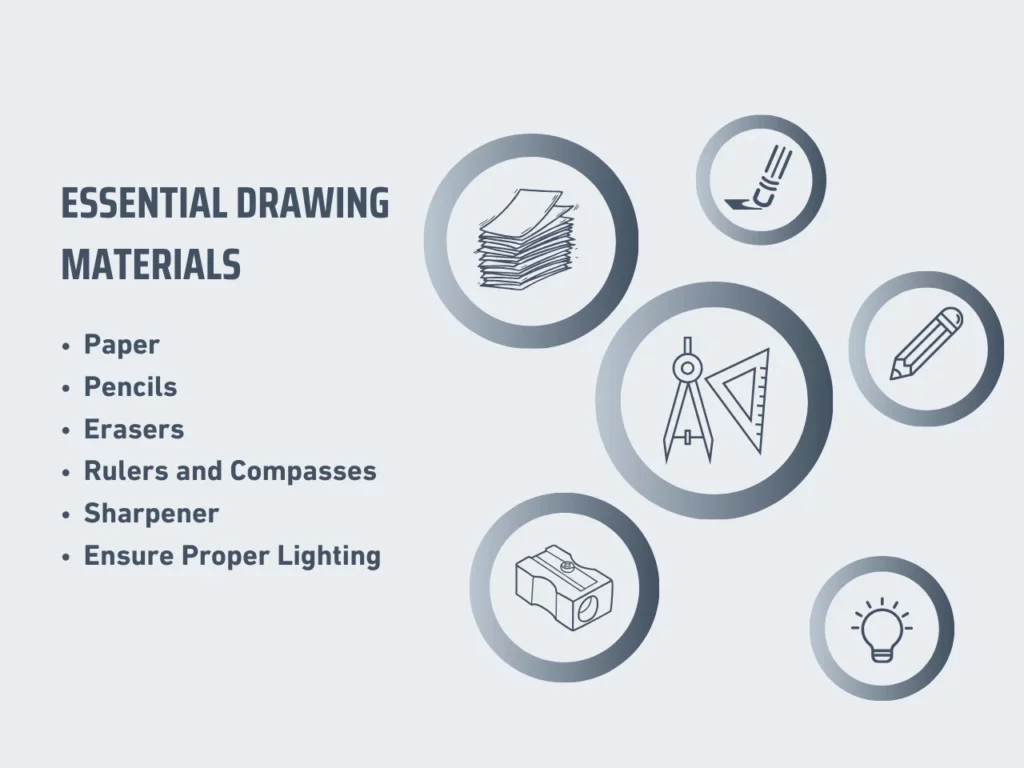
- Paper: Choose high-quality paper that suits your drawing style. Smooth paper works well for detailed pen work, while textured paper is ideal for charcoal or pastel drawings.
- Pencils: Use a range of pencils to create various shades and details in your drawing. From hard (H) pencils for light lines to soft (B) pencils for darker, richer strokes, a variety of supplies will add depth to your artwork.
- Erasers: Keep a kneaded eraser for soft, subtle corrections. You may also use a precision eraser for fine details. These tools help maintain the clarity of your drawing.
- Rulers and Compasses: These tools are essential for creating accurate lines and shapes, ensuring your drawing has precise proportions.
- Sharpener: A sharp pencil is vital for detailed work. Keep a reliable sharpener on hand to maintain the precision of your drawing tools.
- Proper Lighting: Work in a well-lit area to see details. Proper lighting helps create a high-quality drawing, which is crucial for effective digitization.
Having these materials ready ensures you can focus entirely on your creative process without interruptions. It helps achieve a cleaner, more professional drawing that is easier to digitize later.
Creating a workspace free of distractions and clutter also contributes to better focus and higher-quality work. Organize your materials within easy reach to streamline your workflow. This preparation might seem basic, but it forms the backbone of how to digitize a drawing effectively.
Step 2: Create a High-Quality Scan or Photo
Creating a high-quality scan or photo is essential in digitizing a drawing. The clarity and detail of your initial capture will significantly affect the quality of the final digital image. Ensuring you capture your drawing accurately will make subsequent editing and enhancement much more accessible. This step is pivotal in understanding how to digitize a drawing effectively.
Here are the key considerations for creating a high-quality scan or photo:
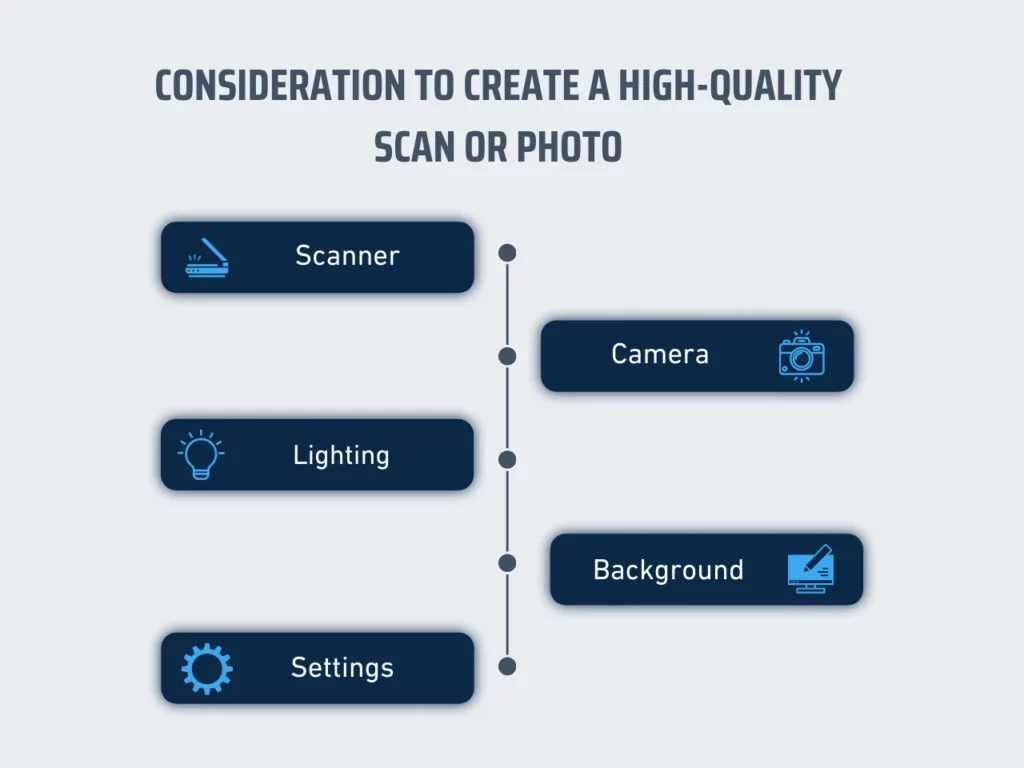
- Scanner: Use a flatbed scanner to capture your drawing. Adjust the resolution settings to at least 300 DPI (dots per inch) for detailed and high-resolution images. Ensure the scanner bed is clean to avoid unwanted marks on your digital image.
- Camera: If you prefer using a camera, choose a high resolution. Set up a stable tripod to avoid blurriness and ensure consistent framing. Good lighting is crucial, so use natural or well-diffused artificial light to avoid harsh shadows.
- Lighting: Proper lighting is key whether scanning or taking photographs. Position your drawing in a well-lit area where light evenly covers the entire surface. Avoid direct overhead lights that can cause glare or uneven lighting.
- Background: Place your drawing on a flat, neutral-colored background when photographing or shooting your artworks. This minimizes distractions and ensures that the focus remains on your artwork.
- Settings: Adjust the settings on your scanner or camera for optimal results. If available, use color correction and descreening options for scanners. For cameras, adjust the white balance and ISO settings to suit the lighting conditions and reduce color noise.
Capturing your drawing with these methods ensures you preserve the details and quality of your original artwork. Proper scanning or photographing techniques form the foundation for a high-quality digital image. Ensure your drawing is captured accurately to save time during the editing process. A well-captured image requires fewer adjustments and enhances the overall digitization process.
Step 3: Import Your Image to Digital Software
Importing your image into digital software is critical in digitizing a drawing. This step transitions your artwork from a physical medium to a digital platform, enabling detailed editing and enhancements. Properly importing your image ensures that the quality and integrity of your drawing are preserved, facilitating the next stages of digitization.
Here are the key considerations for this step:

- Choose the Right Software: Select digital software that meets your needs. Adobe Photoshop offers advanced features for professional editing, while GIMP provides a free, open-source alternative with robust capabilities.
- Save in High-Quality File Format: Ensure your image is saved in a high-resolution format like PNG or TIFF. These formats maintain image quality without compression artifacts that can degrade your drawing’s details.
- Import at High Resolution: Import your image at a high resolution (300 DPI or higher). This ensures your digital drawing retains clarity and detail, especially when zooming in for finer edits.
- Adjust Color Settings: Adjust your software’s color settings to match the original drawing. This helps maintain the true colors and shades of your artwork during digitization.
- Organize Layers: Create separate layers for different elements of your drawing. This allows for non-destructive editing and easy adjustments to specific parts of your artwork.
Paying attention to these considerations will facilitate a smooth and effective import process. Proper software and optimized settings ensure that your drawing retains its original quality and provides a solid base for further digital enhancements.
Furthermore, importing your image correctly preserves the integrity of your artwork and prepares it for the following detailed work. Setting up your digital workspace with the right tools and settings is essential for achieving a professional-grade digital drawing.
Step 4: Clean Up and Enhance Your Digital Drawing
After importing your drawing into digital software, focus on cleaning up and enhancing it. This step ensures your artwork looks polished and professional. Cleaning up the image involves removing imperfections, while enhancement improves the overall visual quality. Mastering this step is essential for those looking to understand how to digitize a drawing effectively.
Here are the key actions to take:
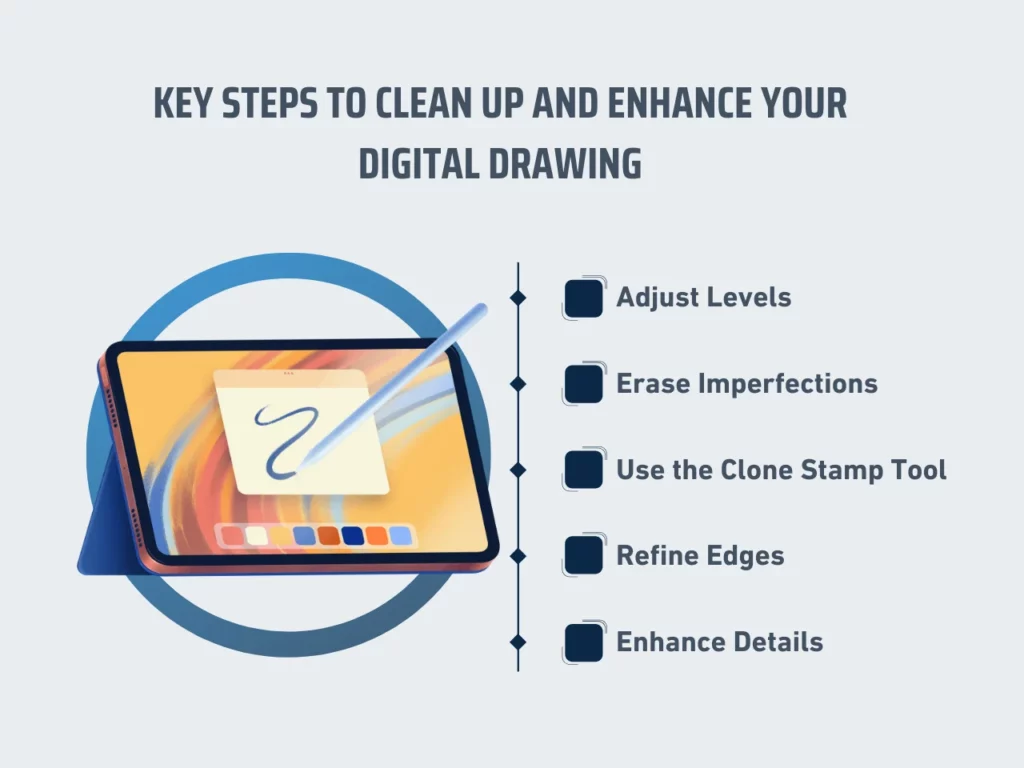
- Adjust Levels: Use the levels adjustment tool in your software to enhance contrast and brightness. This step clarifies the lines and makes your drawing stand out.
- Erase Imperfections: Using the eraser tool, remove any streaks, stray marks, or unnecessary lines to ensure a crisp and clear image.
- Use the Clone Stamp Tool: For larger areas of imperfection, use the clone stamp tool to blend areas seamlessly by copying pixels from one part of the image to another.
- Refine Edges: This step involves smoothing out jagged lines and ensuring the edges are clean and precise. Zoom in and refine the edges of your drawing.
- Enhance Details: Use the brush or pen tool to add details to your drawing. Enhance the areas that may have lost definition during the scanning process, ensuring your drawing maintains its original quality.
These actions help in transforming your scanned drawing into a high-quality digital image. Each step plays a crucial role in maintaining the integrity of your original artwork while improving its digital appearance.
Taking the time to clean up and enhance your drawing meticulously prevents any distractions in the final product. Ensure that your lines are smooth, your details are sharp, and any background noise is eliminated. This thorough approach results in a professional and visually appealing digital drawing.
Step 5: Save and Organize Your Digital Art
Save your digitized drawing in a high-quality format, such as PNG or TIFF. These formats preserve the details and quality of your artwork. For Photoshop users, save a master copy in a PSD or other formats that retain layers. Doing so allows for easy edits and adjustments in the future. Ensure that your files are named clearly and descriptively to facilitate easy identification.
Afterward, it helps to organize your digital files into folders based on categories like project names, dates, or types of artwork. Maintaining an organized digital library saves time and keeps your important files in one place. Implement a consistent naming convention and consider using tags or metadata to streamline your workflow further.
Tips and Best Practices for Digitizing Drawings
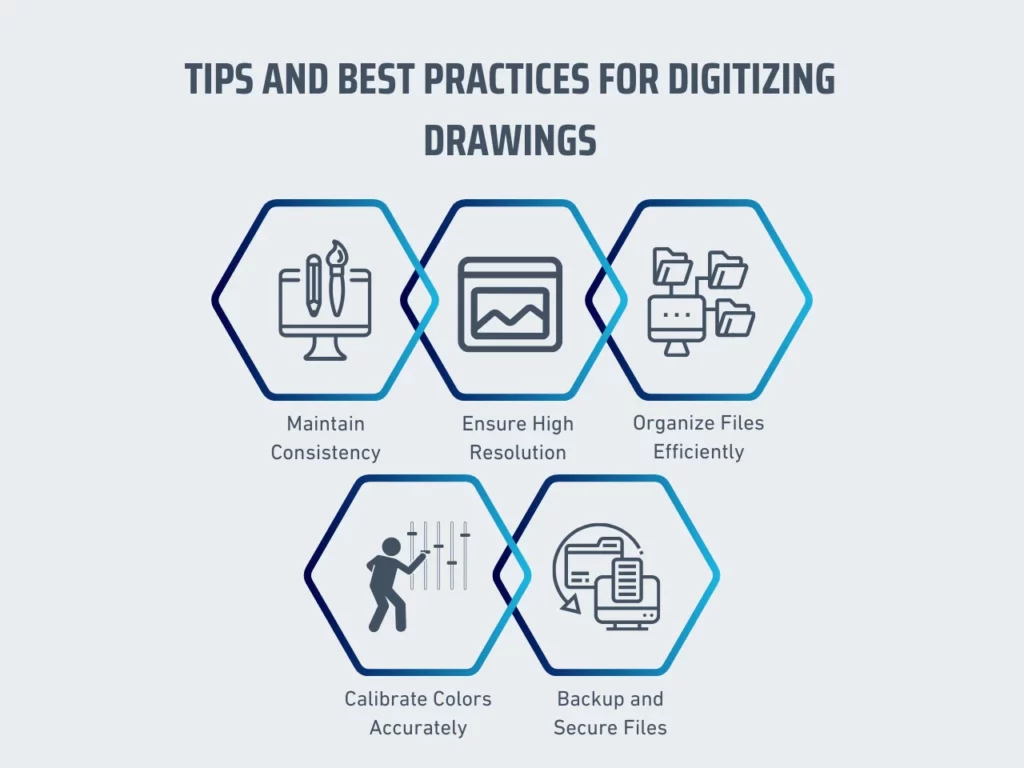
Digitizing a drawing requires careful attention to detail and adherence to best practices. Maintaining consistency, ensuring high resolution, organizing files efficiently, calibrating colors accurately, and backing up files enhance the quality and security of your digital artwork.
Following these tips ensures your digitized drawings retain their integrity, making them suitable for various professional uses:
1. Maintain Consistency
Consistency is crucial in the digitization process. Keep settings and techniques uniform when digitizing multiple drawings to achieve similar results. Use the same scanner settings, editing techniques, and file formats for each drawing. Consistent practices help maintain a cohesive digital portfolio, enhancing the professional appearance of your work.
2. Ensure High-Resolution Scans
High-resolution scans capture intricate details and preserve the quality of the original artwork. Set the scanner to at least 300 DPI (dots per inch) for standard drawings and 600 DPI for highly detailed works. The high resolution ensures clear, sharp digital images suitable for various uses, including printing and online display.
3. Organize Files Efficiently
Efficient file management simplifies the digitization process and ensures easy retrieval of digital files. Create a structured folder system on your computer, categorizing drawings by project, date, or type. Use descriptive file names, including details like the drawing’s title and date. Regularly back up your files on external storage or cloud services to prevent data loss.
4. Calibrate Colors Accurately
Accurate color calibration ensures digital images reflect the original artwork’s true colors. Use color calibration tools and software to adjust your monitor and scanner settings. Consistent color calibration across all devices prevents discrepancies in color representation, ensuring the digital version closely matches the original drawing.
5. Backup and Secure Files
Backing up digital files safeguards against data loss due to hardware failure or accidental deletion. Implement a regular backup routine, storing copies of your digitized drawings on external hard drives or cloud storage. Secure your digital files using passwords and encryption to protect them from unauthorized access and ensure the longevity of your work.
Key Takeaway
Learning how to digitize a drawing offers numerous benefits. It enhances creativity and streamlines the process of creating high-quality digital artworks. Businesses can also use digitized drawings for promotional products, ensuring a professional and polished look. Knowing how to digitize a drawing allows artists and designers to preserve their work and make it accessible for various applications.
When considering digitizing a drawing, focus on the required tools and software. Choose the right hardware, such as scanners and graphic tablets, to achieve the best results. Use image editing and vector graphics software to effectively enhance and convert your drawings. Above all, maintain consistency in style, resolution, and color accuracy throughout digitization.
Ready to learn how to digitize a drawing and print your digitized artwork through DTG vs. Sublimation? Scalable Press ensures high-quality and cost-effective solutions for your promotional needs. Visit our website to learn more and explore our product catalog to expand your knowledge of creating top-notch promotional items.