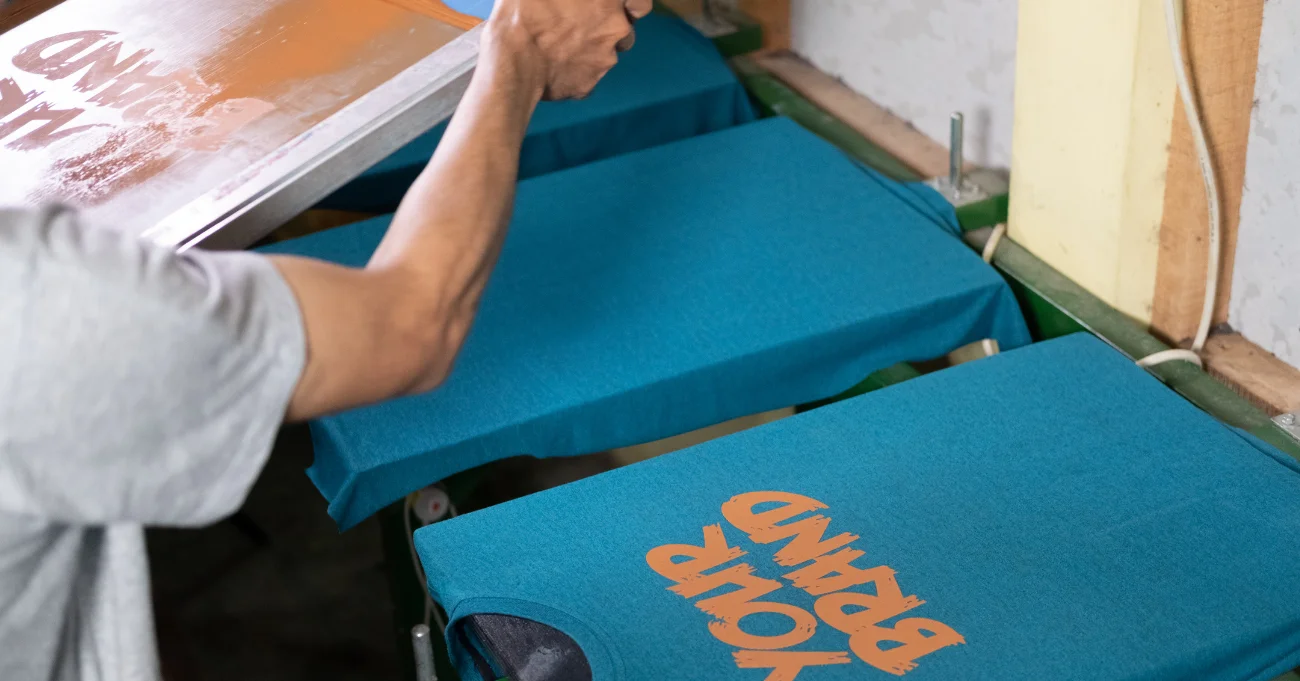
Screen printing has been a widespread technique in the clothing industry for decades due to its versatility and durability. The printing process allows for vibrant colors and intricate designs, making it a preferred choice over digital printing for many applications. Whether you’re new to screen printing or exploring different ways to create promotional products, learning how to screen print can open up new possibilities for customizing apparel with clear, long-lasting imprints on various fabric types.
At Scalable Press, we deliver high-quality screen printing services by leveraging our extensive network of vendors and modern screen printing equipment. Our expertise extends to all aspects of the screen printing process, ensuring clear and precise design imprints. We focus on delivering efficiency and quality, while simplifying the complexity of the process for you.
Implementing our expertise in screen printing, we’ve put together this guide on how to screen print. From screen preparation to using the printing press, this comprehensive guide covers everything you need to clearly understand the entire screen printing process and achieve the best results in your projects.
Let’s jump in!
The Basics of Screen Printing on Clothes
Screen printing is a popular, versatile technique used in fashion, medical devices, and fine art. This method transfers a stenciled design onto a flat surface using a mesh screen stretched over a wooden frame. The screen printing process involves creating the design on a transparent acetate film, which is then transferred to the screen using a light-sensitive emulsion.
A rubber blade, or squeegee, is used to push ink through the mesh onto the printing surface. The mesh count of the screen determines the type of ink and fabric used, ensuring a clear design imprint on the final product. Learning how to screen prints makes it a valuable skill for artists, entrepreneurs, and businesses looking to create tailored, eye-catching designs on various promotional products.
Types of Fabrics Suitable for Screen Printing
Certain fabrics work better for screen printing due to their ability to hold the ink and maintain your design’s imprint. Let’s find out which fabrics are most effective for screen printing, offering superior ink retention and design durability.
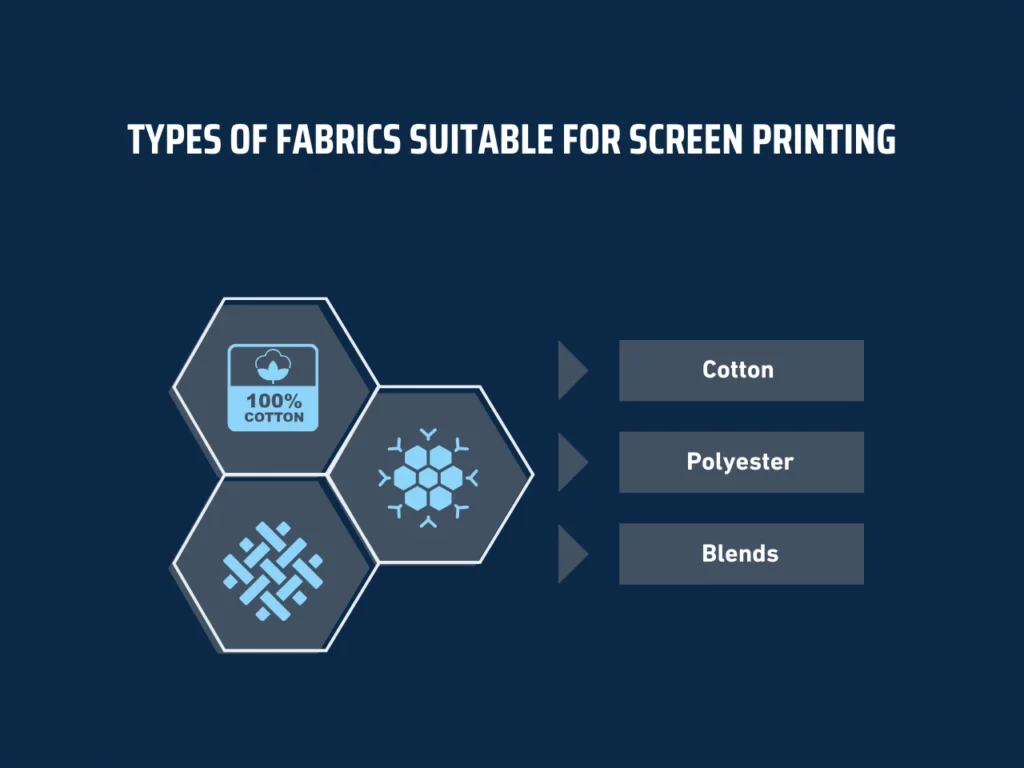
- Cotton: A fine mesh fabric like cotton provides a smooth, flat surface ideal for fabric printing. It absorbs black ink well, resulting in a clear imprint.
- Polyester: This fabric works best with heat transfer and different types of ink, making it suitable for silk screening and automatic press methods.
- Blends: Fabrics that combine materials like cotton and polyester offer durability and a softer final product. They work well with different screens and printing methods.
Using the right printing ink, fine mesh fabric, and exposure unit helps create a clear imprint on various surfaces, from silk mesh to acetate sheets. Whether using a screen printing press or silk screening, choosing the appropriate screen material, such as silk mesh, ensures successful results across different industries.
Preparing Your Artwork for Screen Printing
Preparing your artwork correctly is crucial for successful screen printing, as the design process directly influences the quality of the final product. If you’re new to screen printing or have some experience, pay attention to these essential aspects to achieve professional results:
Design Considerations for Screen Printing
When preparing your artwork, several factors must be considered to achieve the best results in screen printing. The limitations of color, the level of detail, and the size of the design significantly influence the outcome.
Check out these factors to help achieve professional results:
- Color Limitations: Screen printing typically prints one color per silk screen. Intricate designs with multiple colors require separate layers for each color.
- Detail Level: Printing fine details can be challenging with screen printing. The open areas of the stencil on the silk screen must accurately capture the intricate parts of the original design. Large, bold designs generally print more easily.
- Size: The size of the design should match the full length of the screen used. If the design goes over the length of the screen, parts may get cut off that could result in a flawed printed product.
To create or select designs that work well for screen printing, follow these tips:
- Simplify the Design: Opt for bold and straightforward designs. Complex patterns with many colors or intricate details often do not transfer well onto the screen printer.
- Focus on Contrast: High-contrast designs tend to produce the best results. Ensure your design uses contrasting colors or shades to stand out during printing.
- Consider the Fabric: Always account for the color and texture of the fabric. Lighter designs on dark fabrics or vice versa can help your artwork pop.
Transferring Your Design Onto the Screen
Transferring your design onto the screen is a critical part of screen printing. This process involves converting digital artwork into a physical silk screen that eventually prints your design.
Key steps to transfer your design involve:
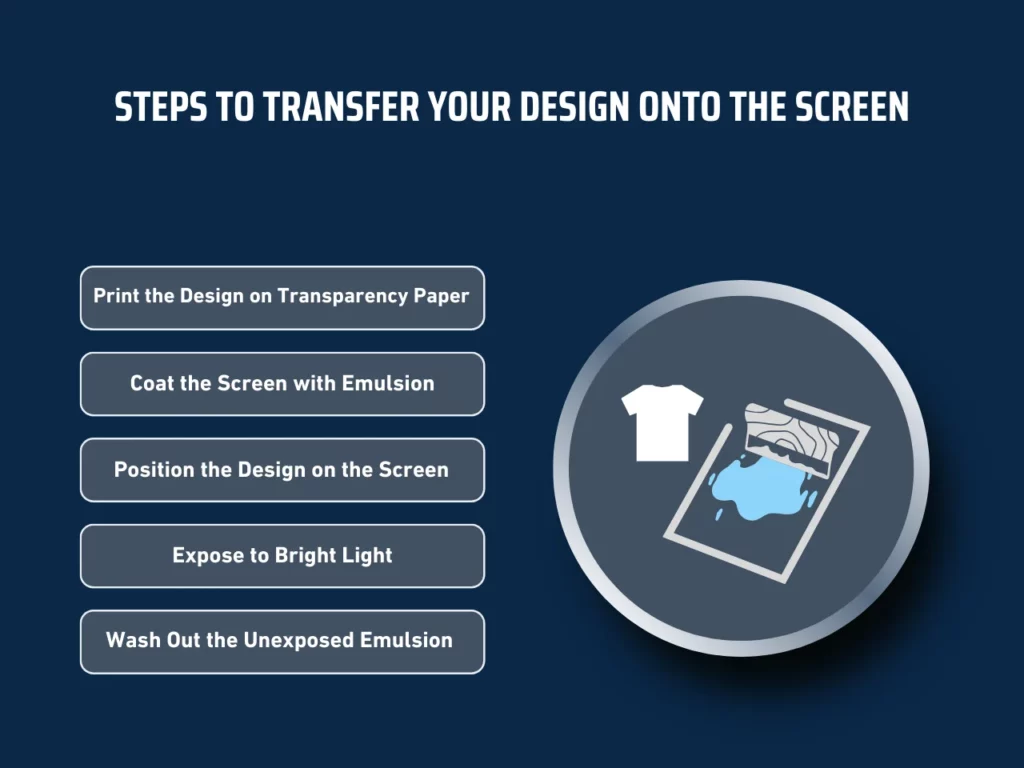
- Printing the Design on Transparency Paper: Print your design on transparency paper. The design must be clear and of high quality, as it will directly impact the open areas on the silk screen.
- Coating the Screen with Emulsion: Apply a layer of emulsion to the full length of the screen. This light-sensitive substance will harden when exposed to bright light, creating open areas where the ink will pass through.
- Positioning the Design on the Screen: Place the printed transparency on top of the emulsion-coated screen. Ensure it is perfectly aligned to avoid any distortions in the final print.
- Exposing to Bright Light: The screen with the design placed on it needs exposure to bright light. The light hardens the emulsion except where the design blocks it, leaving the open areas where the ink will pass through.
- Washing Out the Unexposed Emulsion: After exposure, wash the screen with a special washing fluid to remove the unexposed emulsion. This step reveals the open areas of the stencil that will transfer ink to the fabric.
The importance of transparency and clarity in design cannot be overstated. Without clear, precise lines, the screen printer may produce blurred or inaccurate prints. Always double-check the design before transferring it to the screen to ensure it’s ready for printing.
Choosing the Right Screen for Your Design
Selecting the appropriate screen is another key aspect of how to screen print effectively. The screen you choose will determine how well your design transfers to the fabric.
Here are the steps to select the right screen:
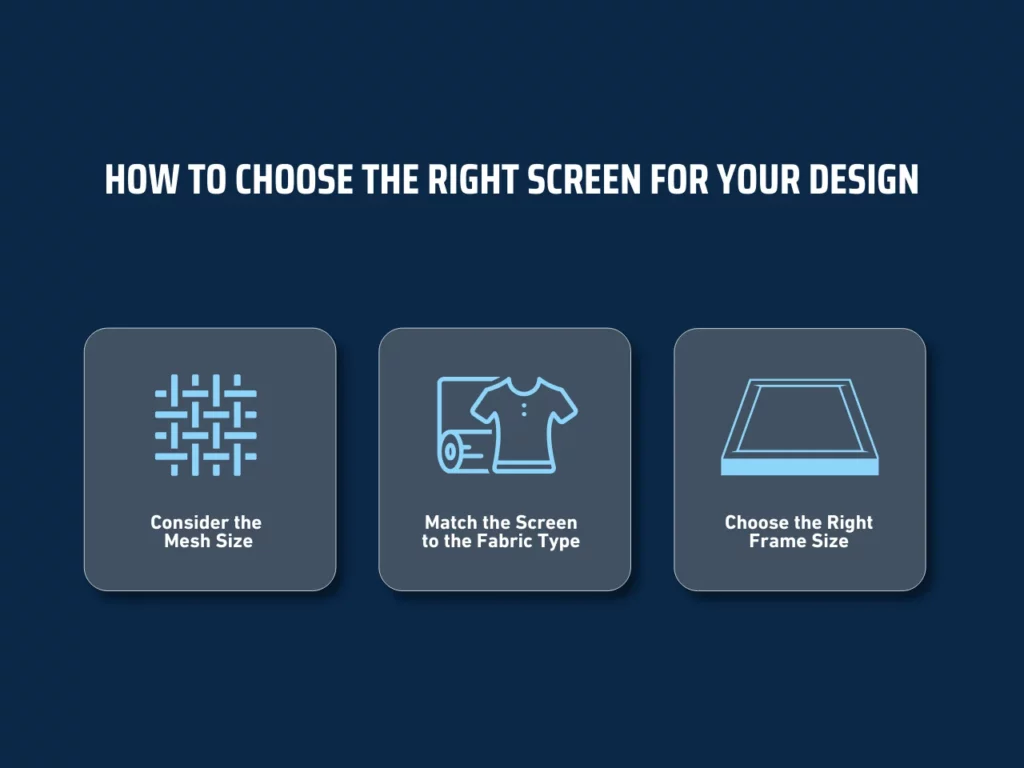
- Consider the Mesh Size: The mesh size determines how much ink passes through the screen. Fine details require a higher mesh count to ensure precise lines, while bold designs work well with a lower mesh count.
- Match the Screen to the Fabric Type: Different fabrics absorb ink differently. For example, rough fabrics may need a coarser screen to ensure sufficient ink coverage, while smooth fabrics may require a finer screen.
- Choose the Right Frame Size: The frame should be large enough to accommodate the full length of the screen and the design. Ensure that the frame size allows for proper alignment and consistent printing.
The right screen mesh size and frame is vital for achieving consistent and high-quality results in screen printing. Correctly matching these elements with your design and fabric type ensures that your final printed product remains true to the original design.
How to Screen Print on Clothes: A Step-By-Step Guide
Screen printing is a versatile and popular method used to transfer designs onto various surfaces, from apparel to promotional items. Whether you’re a beginner or looking to refine your skills, understanding the fundamental steps in the process is crucial for achieving high-quality, professional results. Here’s how to screen print effectively.
Step 1: Coat the Screen with Emulsion
The screen printing process begins with coating the screen with emulsion. This step is crucial for creating a clear design imprint on the fabric. The emulsion is applied evenly across the screen areas to ensure your design transfers precisely during printing. The quality of this step directly affects the final outcome of a successful screen printing process.
Here are the tips for even coating and avoiding bubbles:
- Use a smooth, even stroke from the top of the screen to the bottom.
- Apply consistent pressure on the printing board.
- Choose the right emulsion for the type of fabric.
- Maintain the correct drying temperature during the process.
- Ensure the emulsion covers all areas of the screen evenly.
For best results in the steps in screen printing, ensure the emulsion layer is smooth and consistent. Proper screen preparation at this stage sets the foundation for a successful print, minimizing issues during the exposure and printing stages of the screen printing process.
Step 2: Expose the Design onto the Screen
Timing is crucial during the screen printing process. Proper exposure ensures the design transfers cleanly onto the screen. Overexposing or underexposing can save the stencil, leading to clearer prints. Precise timing during this step defines the quality of the final product, making it essential to follow the correct procedure in screen printing.
These are the steps involved in screen printing to set up the exposure unit and position the design accurately:
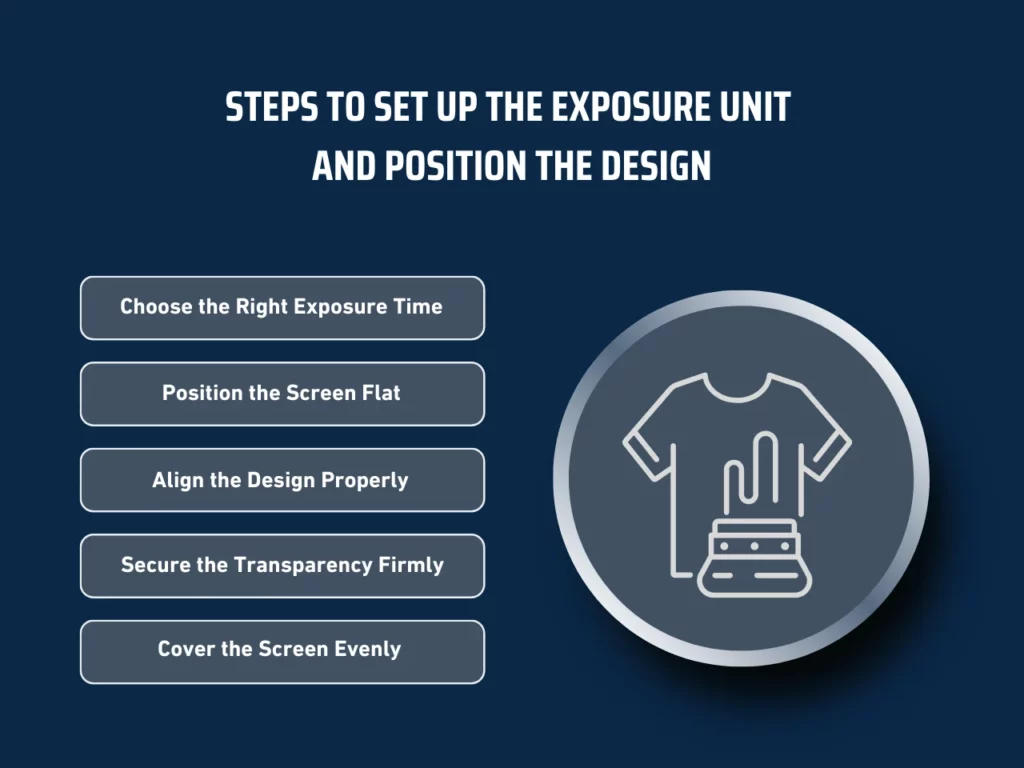
- Choose the Right Exposure Time: Refer to the emulsion manufacturer’s guide for accurate timing.
- Position the Screen Flat: Ensure the screen lies flat on the exposure unit to avoid uneven exposure.
- Align the Design Properly: Place the transparency with the design securely on the screen for a sharp transfer.
- Secure the Transparency Firmly: Avoid any movement during exposure to prevent blurred lines.
- Cover the Screen Evenly: Ensure complete coverage with the light source to avoid underexposed areas.
During this screen printing process, monitor every step closely. Timing, alignment, and secure design positioning are critical to successful outcomes. Proper execution at this stage leads to clear, professional-quality prints.
Step 3: Wash Out the Design
After exposing the screen, the next critical step in printing involves washing out the design. Make sure that the areas intended to print are clear while the rest of the screen remains solid. Proper execution of this step directly impacts the quality of the final print.
Here are the instructions for washing out the emulsion to reveal the design:
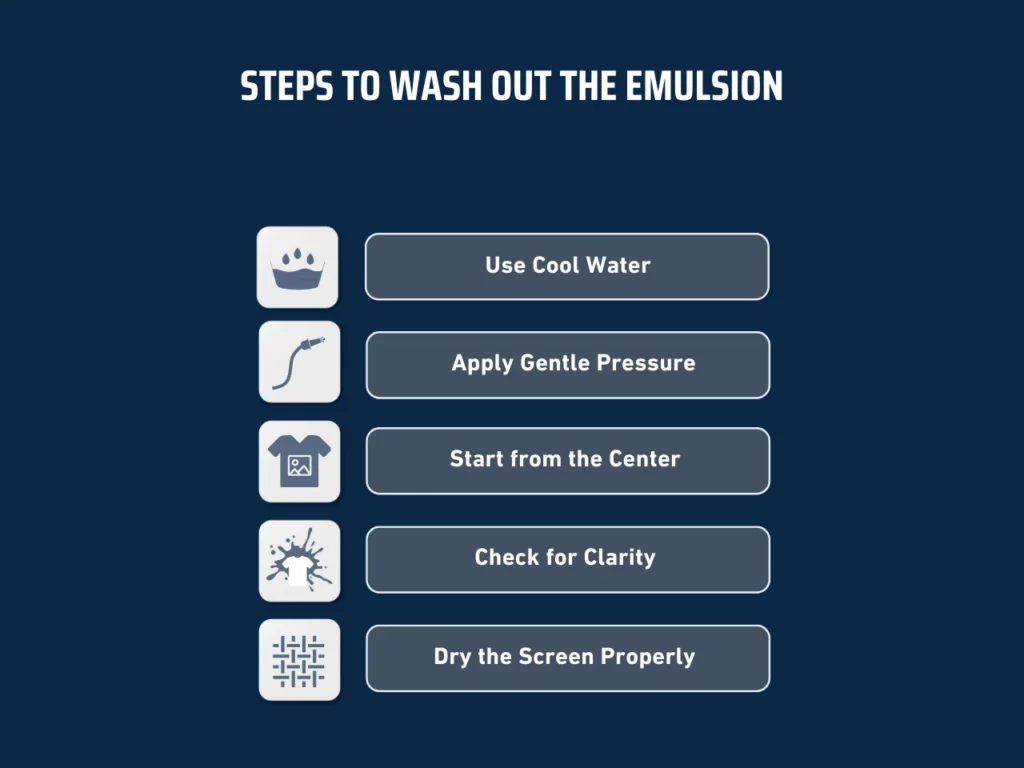
- Use Cool Water: Begin by using cool water to soften the emulsion gradually.
- Apply Gentle Pressure: Use a hose to avoid damaging the screen.
- Start from the Center: Focus on the center of the design first, then work outward.
- Check for Clarity: Ensure all areas of the design are fully cleared of emulsion.
- Dry the Screen Properly: Allow the screen to dry completely before proceeding.
Monitor the process closely to avoid overwashing or damaging the screen. Stop washing once the design is visible. Excessive water pressure can weaken the screen, leading to unwanted tears or distortions. Following these steps properly ensures the screen remains intact and ready for printing.
Step 4: Prepare the Print Station
The screen printing process requires a precise setup to ensure consistent results. Proper station preparation minimizes errors and enhances print quality. Efficient steps in screen printing start with proper station arrangement. Secure the screen, align the garment, and ready the ink. These actions set the foundation for successful screen printing.
Prepare the print station by following these steps:
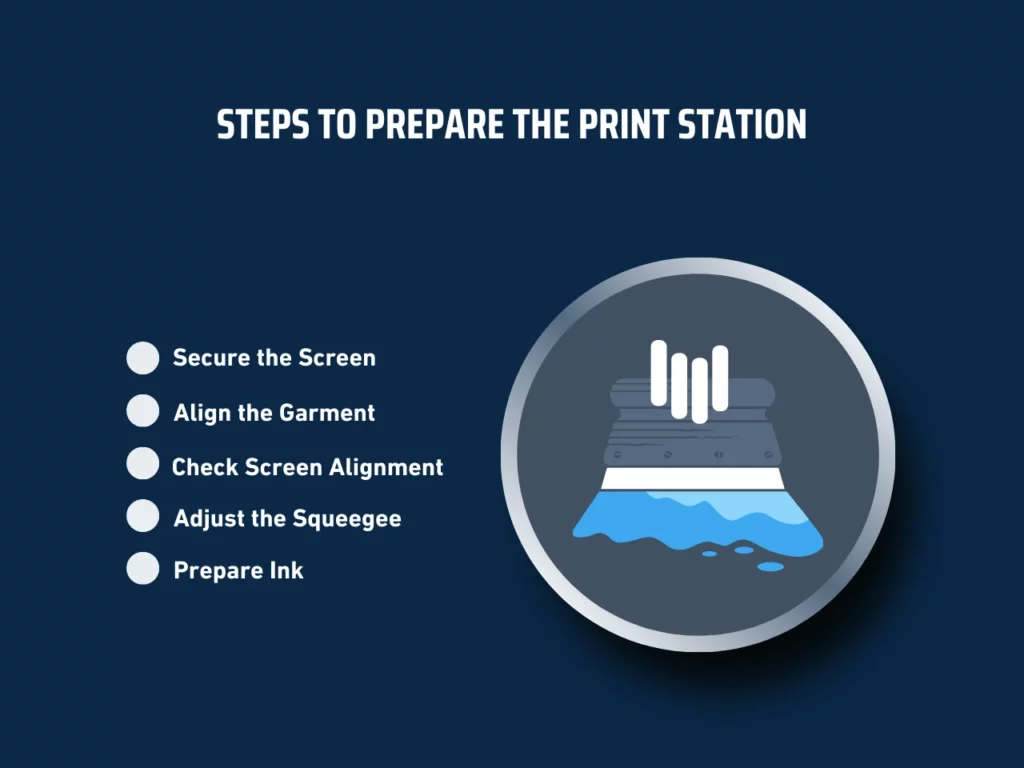
- Secure the Screen: Lock the screen to prevent movement during printing.
- Align the Garment: Position the garment accurately on the platen for even prints.
- Check Screen Alignment: Ensure the screen aligns with the design placement.
- Adjust the Squeegee: Set the squeegee angle for optimal ink distribution.
- Prepare the Ink: Mix and spread the ink evenly to avoid inconsistencies.
Proper station preparation impacts the entire screen printing process. These steps form the backbone of the screen printing procedure. Adhering to these practices ensures smooth printing and professional-grade results every time. This is crucial for achieving better control and higher print quality in each project.
Step 5: Apply Ink and Make the Print
The screen printing process involves several crucial steps, but applying ink and making the print is the heart of the procedure. Achieving a professional result requires precision and care. Each step must be executed correctly to ensure a consistent and high-quality print.
Here is the process of applying ink evenly and pulling the squeegee precisely.
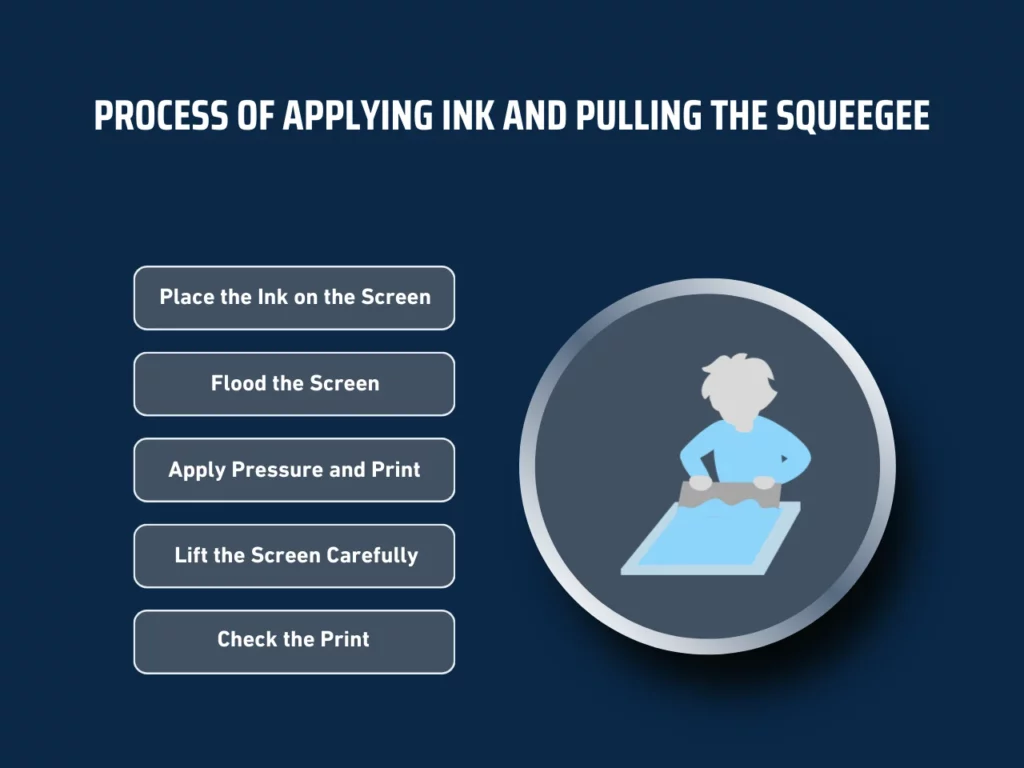
- Place the Ink on the Screen: Position the ink at the top in a straight line.
- Flood the Screen: Pull the squeegee lightly over the ink to coat the screen with a thin layer.
- Apply Pressure and Print: Use firm, even pressure on the squeegee to pull the ink through the screen onto the fabric.
- Lift the Screen Carefully: Lift the screen smoothly to avoid smudging the print.
- Check the Print: Inspect the print for even ink distribution and clarity.
Ensuring these steps in screen printing are followed correctly will yield a clear and vibrant design. Consistency is key in the procedure, so always monitor the process and adjust as needed for the best results.
Step 6: Cure the Ink
The curing process solidifies the ink, making it permanent on the fabric. Without proper curing, the design will crack, peel, or fade quickly. This step is crucial for ensuring the durability and longevity of the printed design. Understanding the curing procedure in screen printing helps achieve a professional finish.
Different methods for curing the ink include:
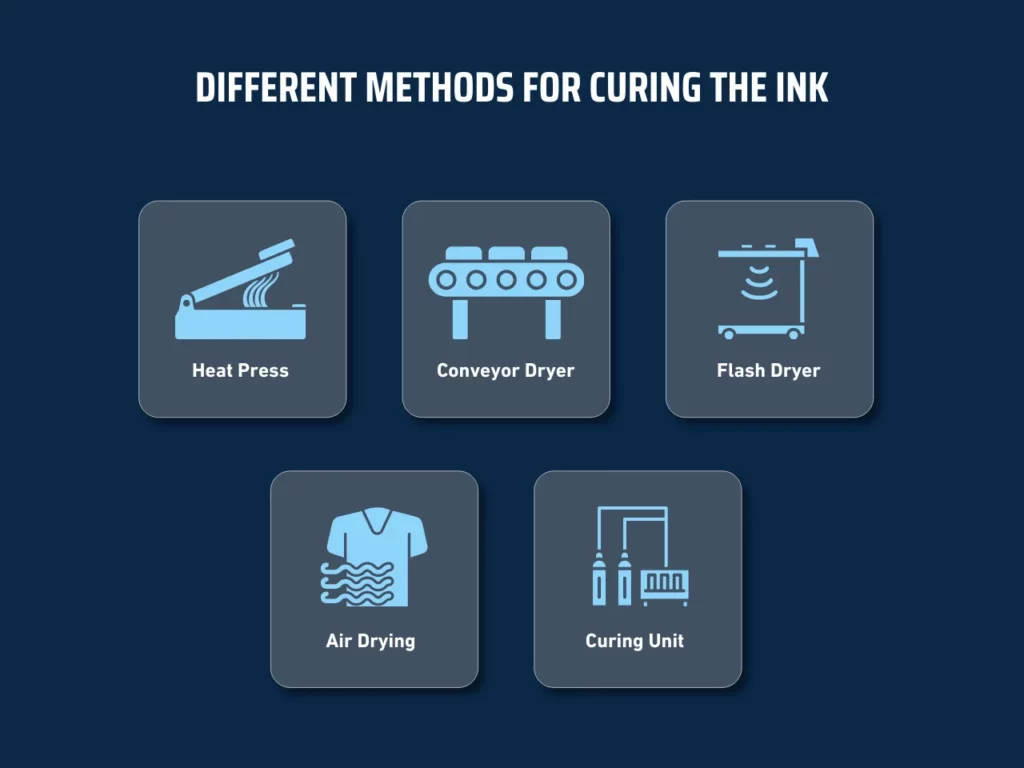
- Heat Press: Ideal for smaller batches, it applies both heat and pressure to cure the ink.
- Conveyor Dryer: A belt-driven dryer moves garments through a heated chamber, perfect for high-volume production.
- Flash Dryer: Quickly cures ink on multi-colored prints, allowing immediate reprinting.
- Air Drying: Uses natural air to cure. While this method takes longer to dry than heat-based methods, it can be useful for sensitive fabrics.
- Curing Unit: A specialized machine designed to ensure consistent curing for various types of ink.
Curing the ink is a vital step in the screen printing process, contributing to the overall quality of the final product. Following the correct steps guarantees the designs remain vibrant and durable across multiple washes.
Key Takeaway
Businesses have immense potential to create high-quality, custom apparel with screen printing. Understanding how to screen print empowers companies to produce durable, vibrant designs that stand out. For those seeking to scale operations, exploring contract screen printing offers a cost-effective solution to meet large order demands without compromising quality.
Considerations should include the differences between DTG vs. screen printing and how each method impacts production costs, design complexity, and final output. Businesses also explore screen printing fulfillment services to streamline the process, ensuring timely delivery and consistency across orders. These services can be crucial for maintaining customer satisfaction while managing high-volume production.
Are you curious how to screen print and create custom apparel for your business? At Scalable Press, we offer guidance throughout the process, from selecting the right equipment to scaling your operations. Our expertise helps businesses achieve professional results, whether for a small project or a large-scale operation. Explore our product catalog to discover how we can support your screen printing needs.